Create, Edit, and Delete a Role
After you create a territory, the next step is to assign people to the territories. In Fullcast, this requires you to configure roles and then assignments. Fullcast allows you to create, manage, and assign various types of roles in your go-to-market plans. This article provides a step-by-step overview of how to create roles.
Create a New Role
- Access your Fullcast instance and switch plans if applicable.
- Click Manage Roles on the Roles tile.
- Click the Add New button on the Roles page.
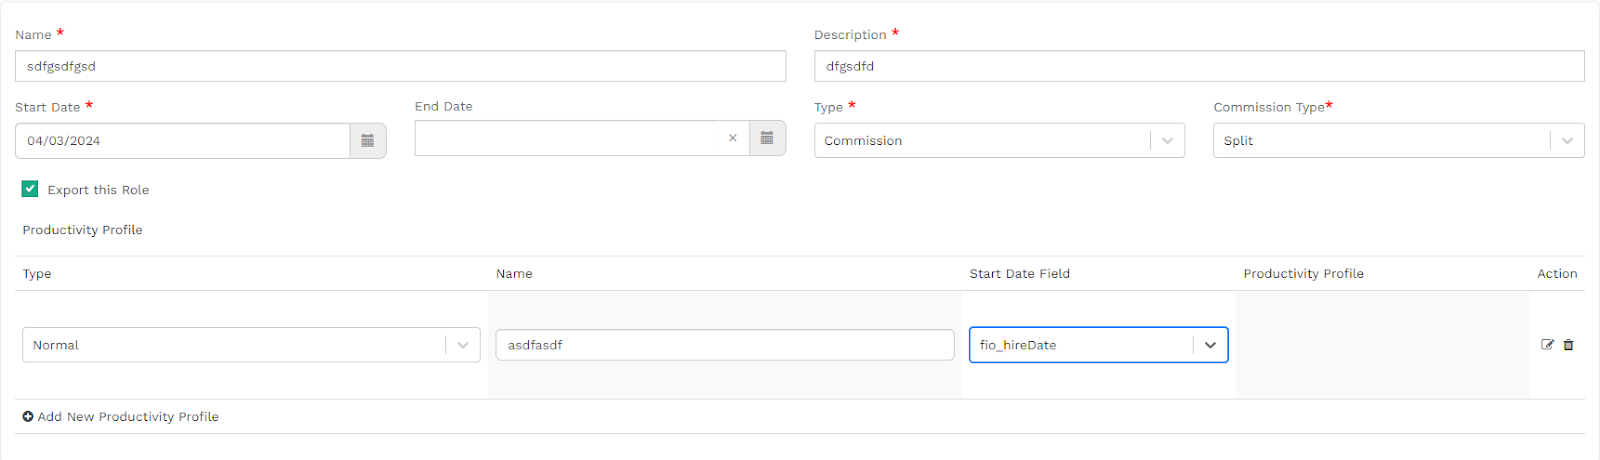
- Name the role and give it a description.
- Enter a start date for the role, and, if applicable, an end date.
Note: Indicate the date when the role commenced within your company. If the role isn’t newly introduced to your organization, it is advisable to retroactively set the start date, ideally a year or more ago. This step is crucial, especially if you are utilizing targets as these dates can affect them.
- Select the appropriate type from the Type dropdown menu.
- Select the type of commission from the dropdown menu.
- Check the box if you want to enable this role for exporting the assignments under this role when the export account team job is running.
- Add a new productivity profile if applicable.
Notes:
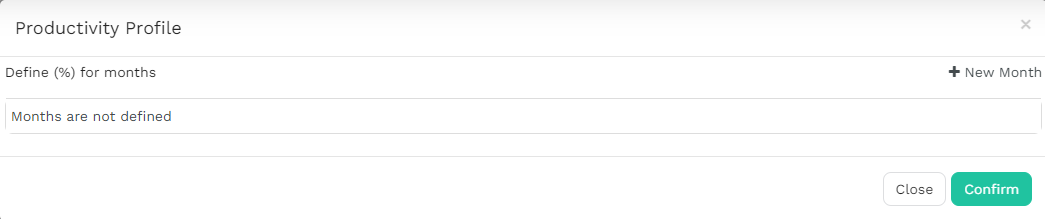
- Applying a productivity profile allows you to factor in ramp time to the role. You can edit the month-by-month breakdown of the ramp schedule.
- For ramp-based productivity profiles, in the action column, select the edit icon (pencil) to edit the month-by-month percent productivity. For more information refer to the Create Productivity Profiles and Role Permissions articles.
- Click Save.
Edit a Role
- Access your Fullcast instance and switch plans if applicable.
- Click Manage Roles on the Roles tile.
- Locate the applicable role and click the More Options icon (three vertical dots) and select Edit from the dropdown menu.
- Update the Information and Permissions as applicable and click Save.
Retire a Role
- Access your Fullcast instance and switch plans if applicable.
- Click Manage Roles on the Roles tile.
- Locate the applicable role and click the More Options icon (three vertical dots) and select Retire.
Next Steps
After you have created Roles for a Plan, the next step is to create Coverage Assignments.
📋For an overview of Assigning Coverage, refer to the Introduction to Coverage article
📋 For how-to documentation, refer to the Creating Normal or Temporary Assignments article.