Release Notes April 2024
Features and UI
The April release consisted of feature enhancements and continued improvement to the user experience.
New Look and Feel!

We've reimagined how information and tools are organized to better suit your needs. Here's a breakdown of the changes:
Navigation Bar Update:

We've revamped your main navigation bar and given it new names:
- Design is now called Plans
- Rhythm is now called Reports
- Motion is now called Policies and moved under Plans.
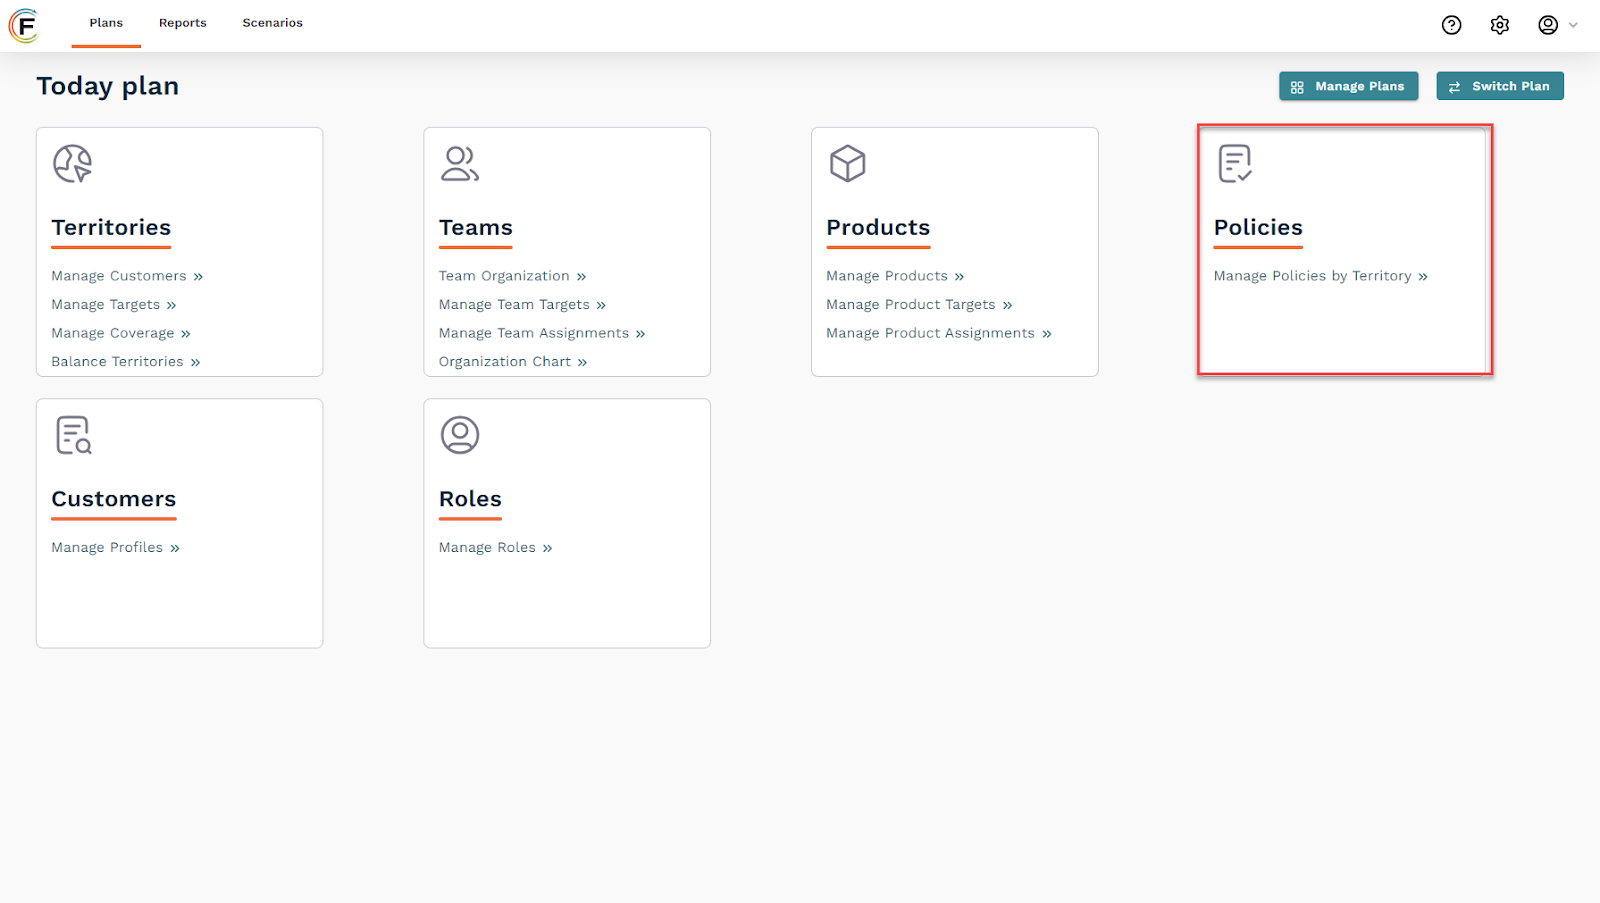
Within these sections, you’ll discover the familiar features and tools you’re accustomed to, with one notable change: Policies moved to the Plan’s landing page.
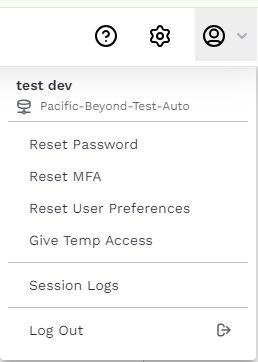
In addition to redesigning the navigation bar, we've made it even simpler for you to access your profile and application settings. We've grouped them on the navigation bar, using familiar icons for easy identification. Now, managing your profile and fine-tuning application settings is just a click away, providing a seamless experience while using Fullcast.
Accessing and Managing Plans:
The process for accessing and managing plans has been updated. Previously, you would click on your plan in the navigation bar to access the manage plans space.
Now you can simply switch plans and manage them by clicking on the corresponding buttons.

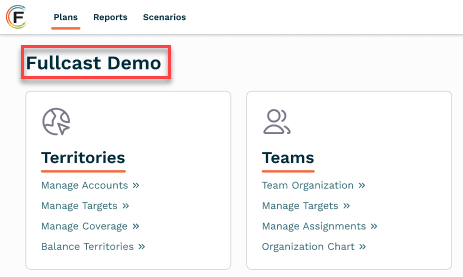
Plans are accessed and managed in the manage plans space, where you can select which plan to operate from, especially if you have multiple plans.
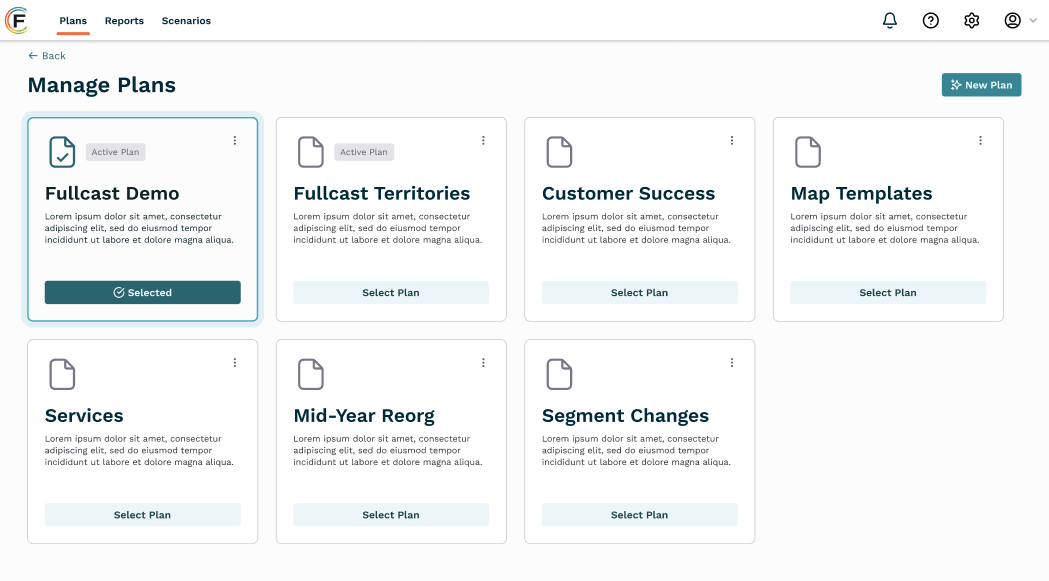
Once you’ve created and selected a plan, whenever you log in, you will be directed to the main workspace of the plan, indicated by the plan’s title in the screen's top left corner.
If you’d like to switch plans, click the switch plans button and select the appropriate plan from the switch plans window.
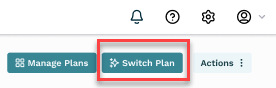
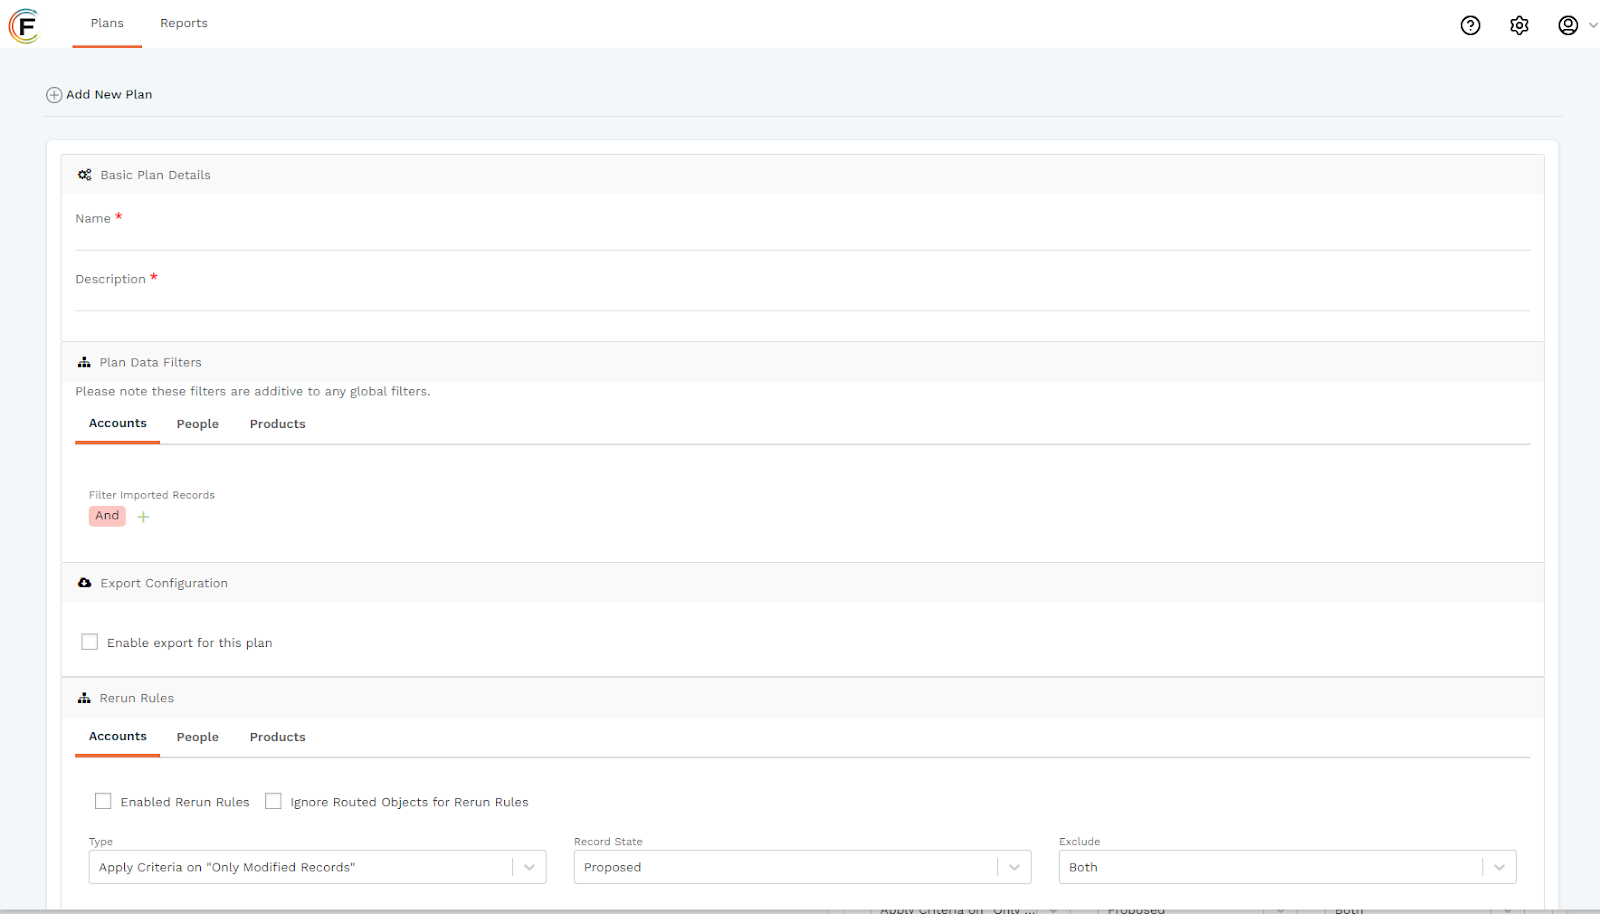
To create a new plan, click the Manage Plans button then click New Plan.
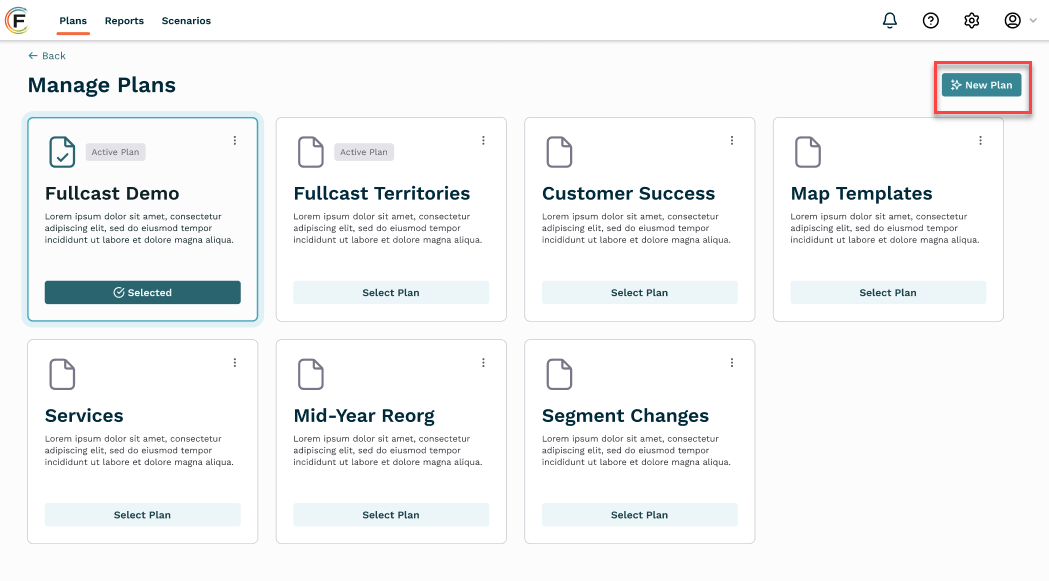
This will bring you to the process of creating a new plan.
To complement the recent changes in Fullcast, we've updated our support content to align with the new navigation and processes. These updates are designed to enhance your self-service experience, providing you with clear guidance on navigating the platform and utilizing its features effectively.
For comprehensive details on the updated navigation and processes, we encourage you to refer to our knowledge base articles and the Fullcast Overview video. These resources are tailored to address any questions or concerns you may have, ensuring that you can make the most out of your Fullcast experience.
Feature Update:
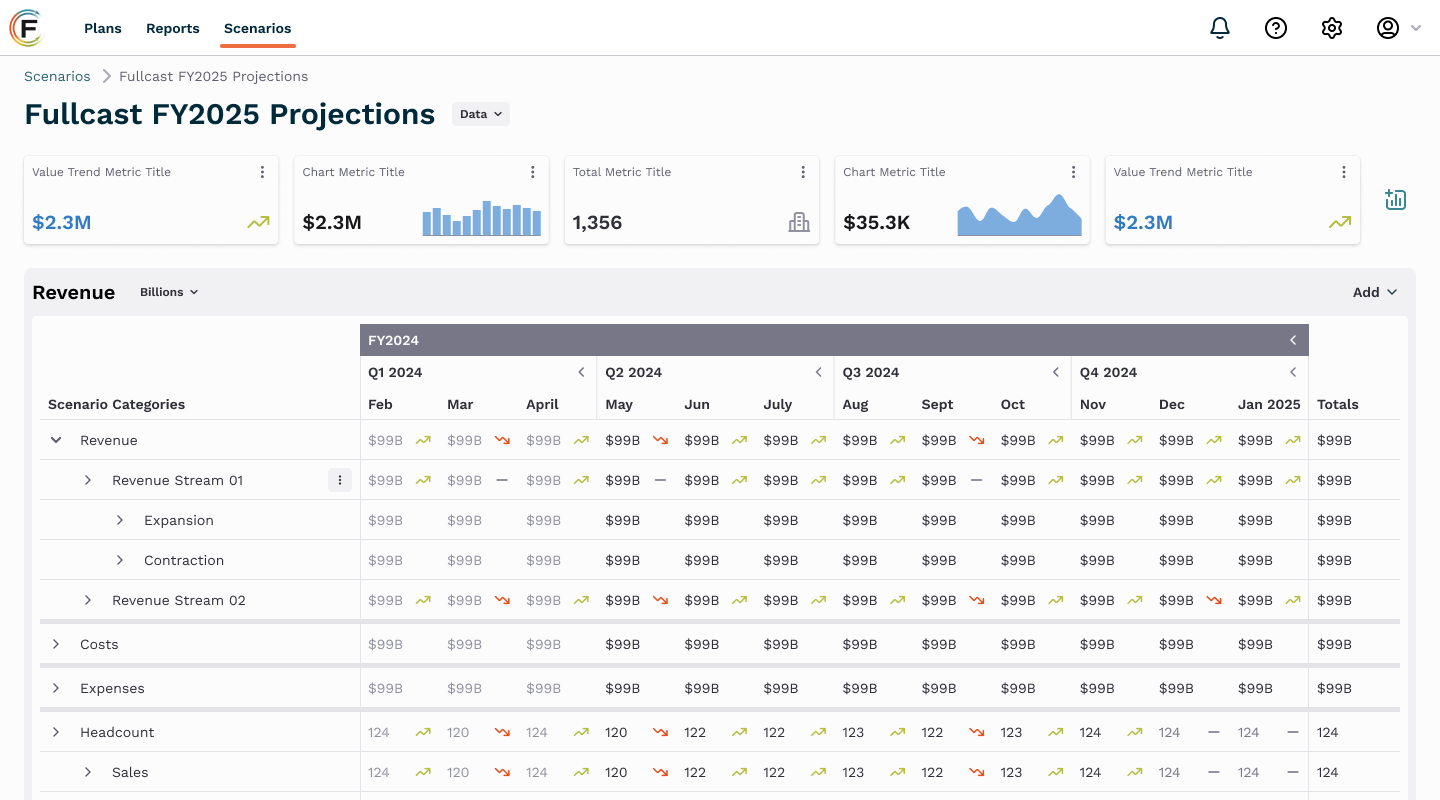
Scenario Planner & Capacity Planning
Scenario Planner is a smart capacity and headcount scenario tool used to design and track various go-to-market strategies and capacity models.

One of the main aspects of building a go-to-market (GTM) plan is modeling various ways in which the available capacity can be deployed to generate the most returns as a revenue organization.
Crafting your scenario is straightforward – just click the New Scenario button on the Scenarios landing page. From there, you can enter important details like revenue, costs, expenses, and headcount. We have incorporated models for pipeline waterfalls and projections, effective (ramping) headcount and actual headcount, carried quota, gross revenue retention, and other components of a go-to-market plan.
Co-Pilot
Co-Pilot, Fullcast’s Go-to-Market (GTM) operations assistant, marks the first step in enhancing your Fullcast experience by automating various administrative tasks. These tasks include manually configuring workflows to manage assignments and targets based on a sales role’s lifecycle.
This initial release of Co-Pilot focuses on automating the employee termination process. Previously, Fullcast's Terminate Employee workflow required manual initiation, despite its effectiveness in handling terminations and assisting with replacement assignments. This manual process involved entering, processing, or initiating terminations in systems such as Salesforce or a Human Resources Information System (HRIS). It required manual effort to collect details like termination dates and assignments, and then implement changes across territories or team structures within Fullcast.
With the Co-Pilot enhancements, this workflow triggers automatically via the Terminate Employee Policy.

To implement the termination process:
- Access your Fullcast instance and switch plans if applicable.
- Click Manage Policies by Territory on the Policies tile.
- Click New Policy in the top right corner.
- Click Add Policy on the Terminate Employee tile.
- Add an effective termination date.
- Configure what actions to take for each active assignment of the terminated user.
- Configure what action to take for each target assigned to the terminated user.
- Click Save and Exit.
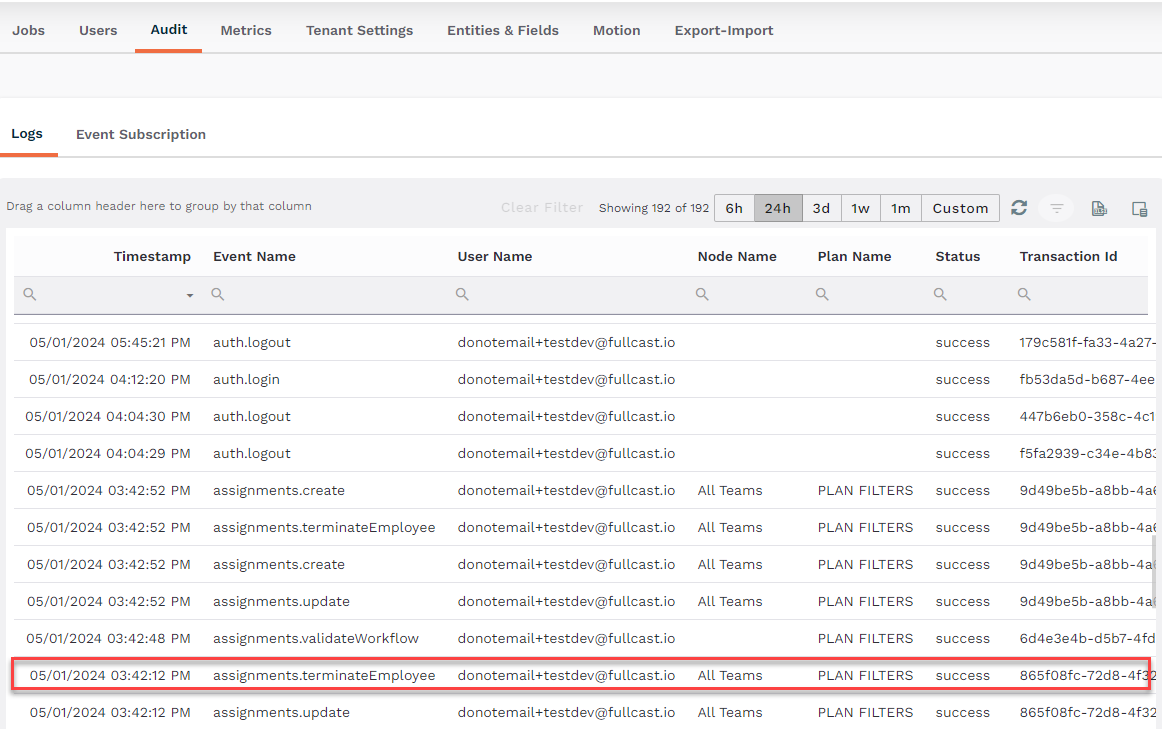
View Co-Pilot output in your audit logs:
- Click the Settings icon (gear) in the navigation bar.
- Click Audit and locate the applicable log.
Multiplan
Policies can now be enabled for multiple production plans. This enhancement allows for more comprehensive management of policies across different territories and plans within your Fullcast instance.
Here's how it works:
Policy Evaluation:
When an event triggers a policy, Fullcast evaluates all active policies across territories in the available plans. This ensures that policies are assessed holistically, taking into account the specific conditions and configurations across different plans.
Policy Execution:
Fullcast then manages the execution of these policies by combining their actions on objects like Leads or Accounts into a single transaction. This streamlined approach enhances efficiency and consistency in policy enforcement.
To configure, follow these steps:
- Access your Fullcast instance.
- Create a plan and designate it as a production plan.
- Run the export job.
- Create and enable a policy for this plan.
- Next, create a second plan and designate it as a production plan.
- Run the export job.
- Create and enable a policy for this plan.
- Choose an account where two territory members are available for the previously created plans.
- Create the Flow Builders for the policy.
- Test the policy.
For more information on configuring and managing Fullcast’s routing policies or plans, refer to our comprehensive knowledge base articles.