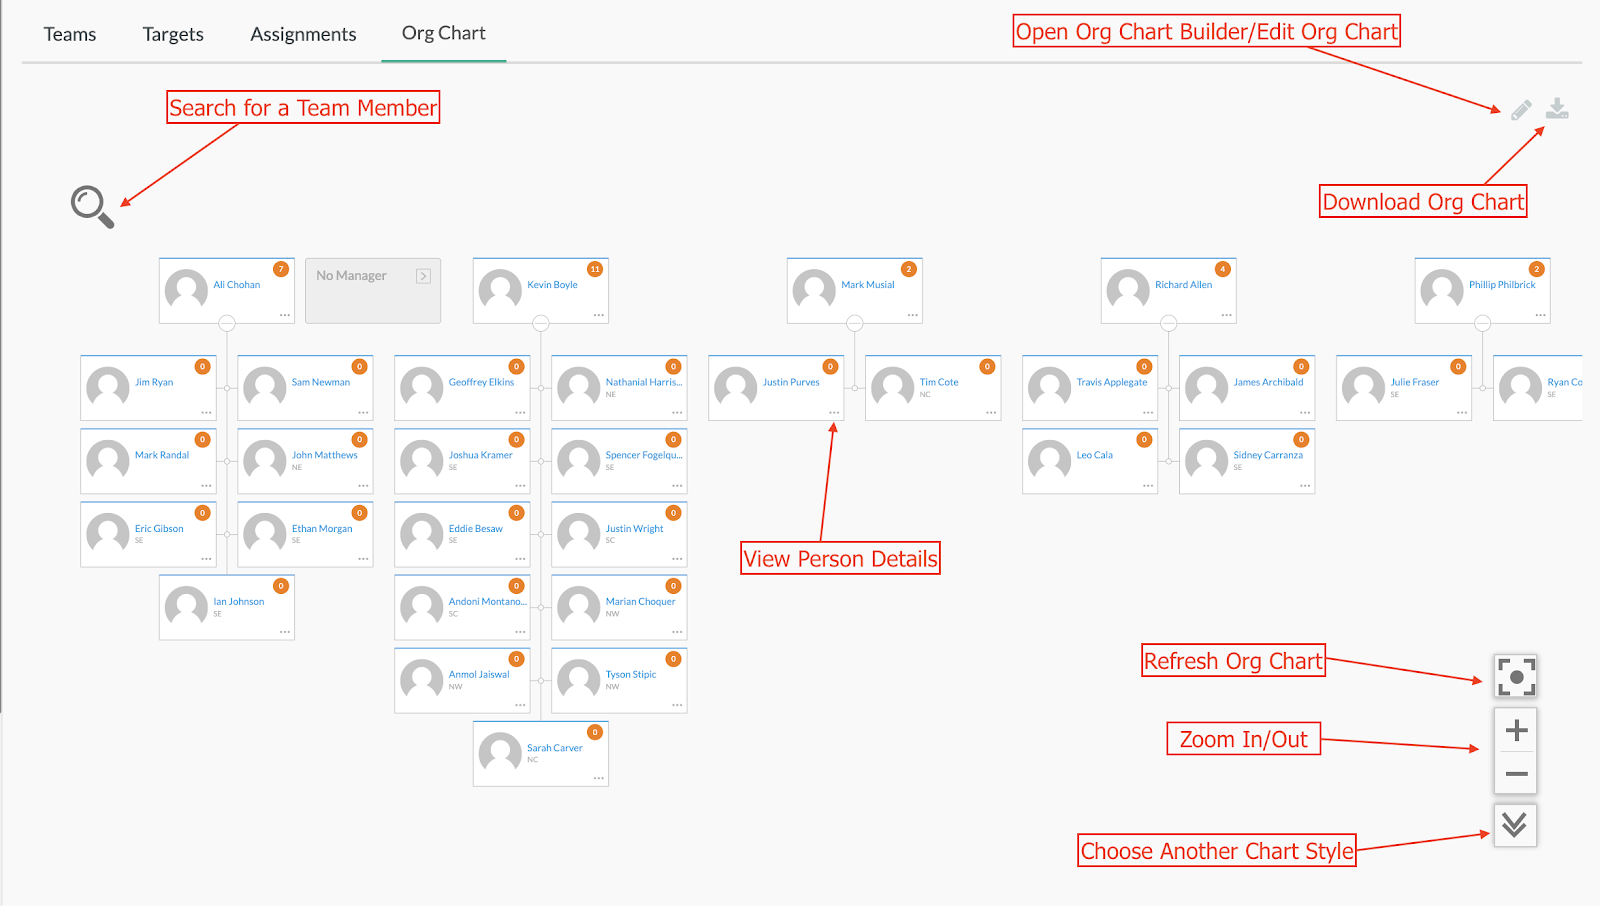
Org Charts
The Org Chart can be used to visualize your sales team's hierarchy built using the Team Designer. Here, you can view and group your people across different dimensions.
Steps to Create Your Org Chart
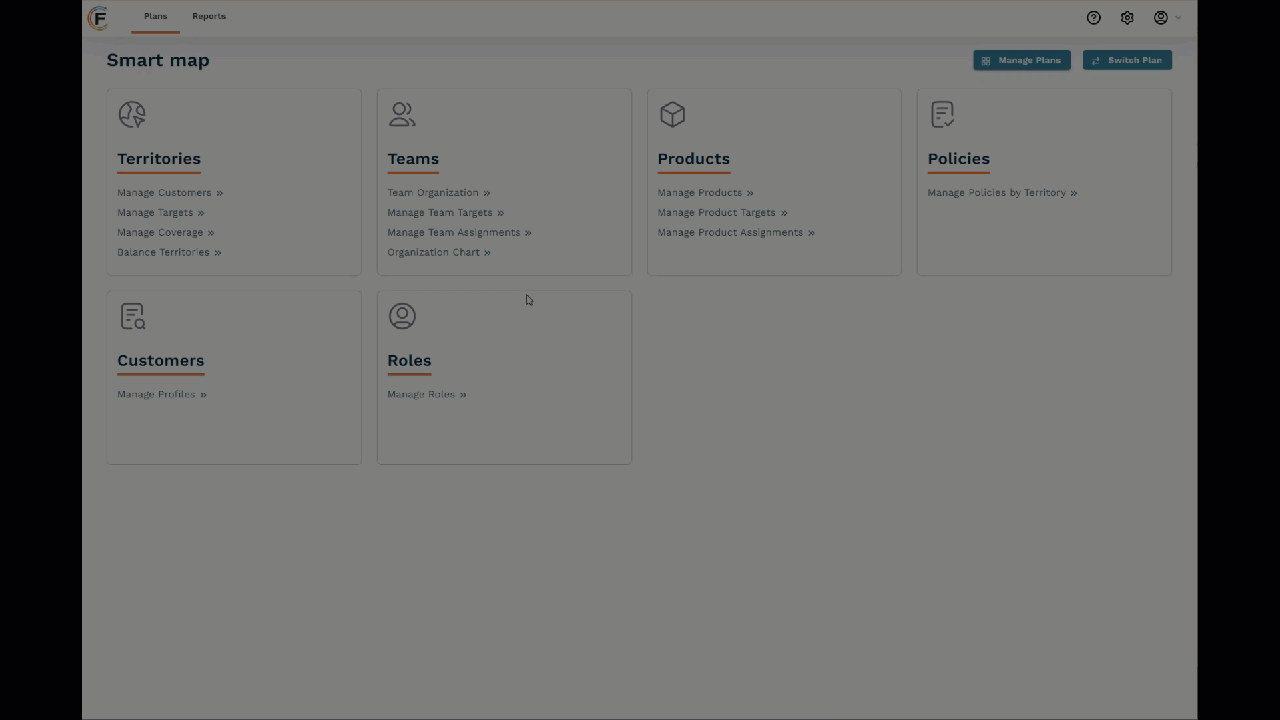
- Access your Fullcast instance and switch plans if applicable.
- Click Organization Chart on the Teams tile.
- Click the OrgChart tab.
- Open the Org Chart tab in the Team Designer.
- Select the pencil icon.
- Drag and drop dimensions into the fields provided.
- Select Plot when you are done with configuring the Org Chart Builder.
Definitions of the fields in Org Chart Builder
- Unique ID - refers to the people deepest within the team hierarchy. (E.g., Name, id)
- Parent Unique ID - refers to the person one level higher in the team hierarchy. (E.g., Manager)
- Name - refers to the names of your team members.
- Orientation - refers to the chart's orientation style which could be top, bottom, right, left, top-left, bottom-left, right-top, or left-top.
- Caption - refers to a brief description under each person's tab in the org chart. (E.g., Job Title, Email, AE Region)
- Metrics - refers to the metrics.
Creating Your Org Chart
To create your Org Chart in the Team Designer:
- Access your Fullcast instance and switch plans if applicable.
- Click Organization Chart on the Teams tile.
- Click on the pencil icon in the top right corner to open the Org Chart Builder.
- Similar to the Chart Builder, drag and drop dimensions into the fields provided.
- Unique ID - This refers to the people deepest within the team hierarchy. (E.g., Name, id)
- Parent Unique ID - This refers to the person one level higher in the team hierarchy. (E.g., Manager)
- Name - This refers to the names of your team members.
- Caption - This refers to a brief description under each person's tab in the org chart. (E.g., Job Title, Email, AE Region)
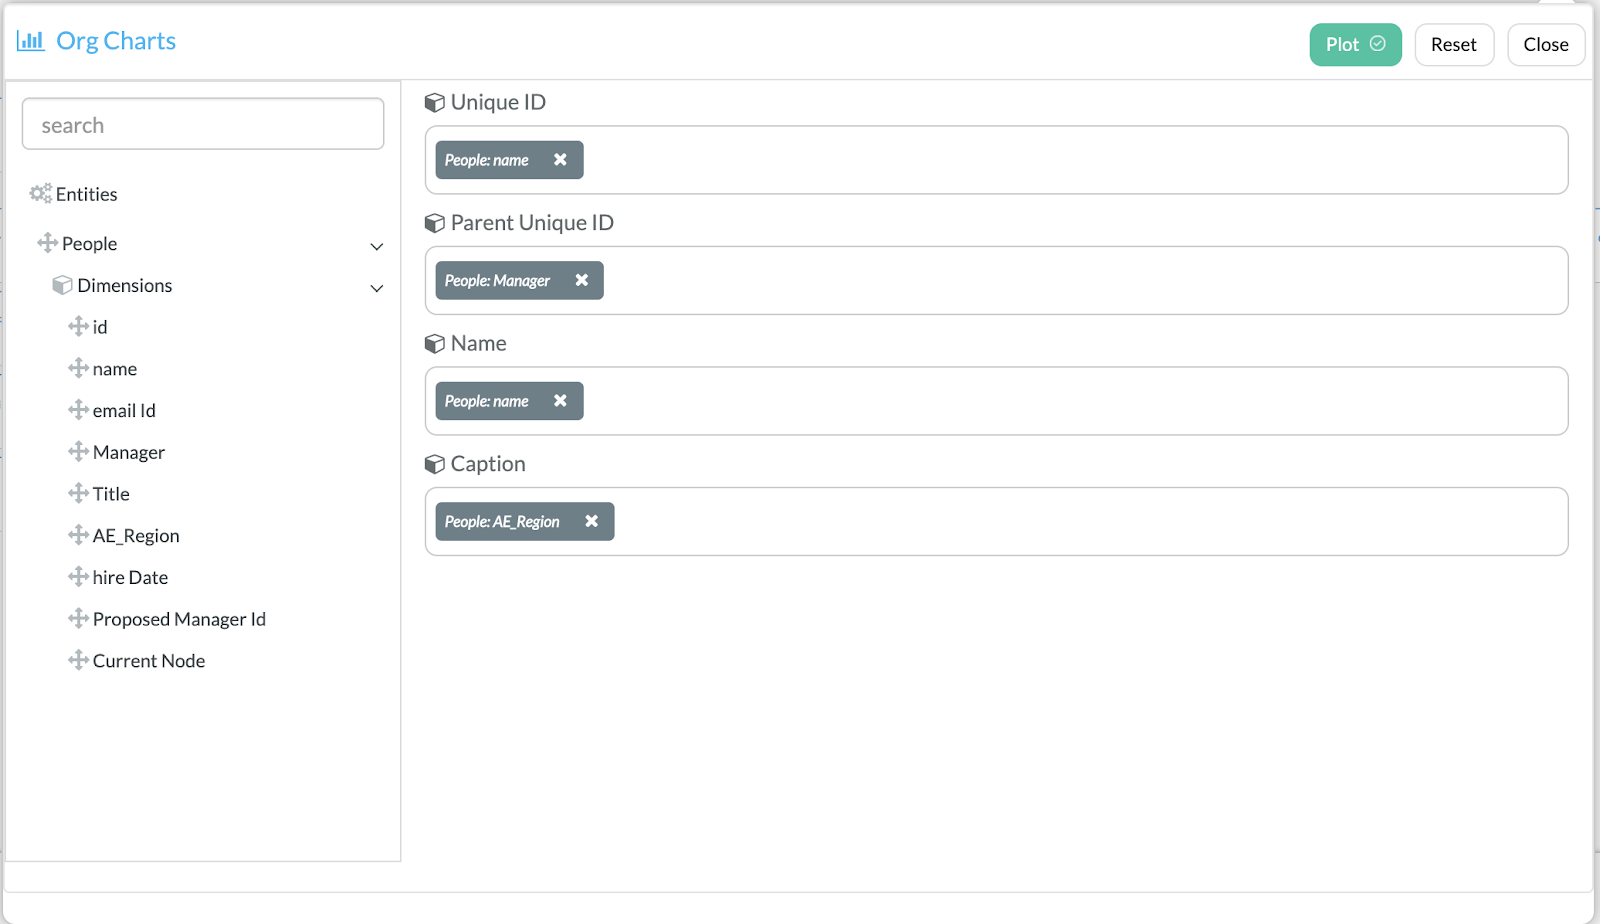

- Click Plot when you're finished configuring the Org Chart Builder.