Grid Action Menu
When you select records and click on the Actions tab, it enables a different set of actions for those records. Below is a list of actions available through the Actions tab.

How to use Mass Edit?
- How to Use Mass Edit:
- Choose the records you want to edit.
- Click the Actions button and select Mass Edit.
- A pop-up window appears, prompting you to select the field from the dropdown menu and enter a value.
- To edit more custom fields, click the green plus icon in the pop-up window to add columns.
- If there are no editable fields configured, you receive an error message and won’t be able to perform the mass edits. Only a limited number of editable fields can be configured, and these fields cannot be imported from your data source.

Saving and Undoing in Custom Fields
- Use the Save icon to save any in-line edits made to a custom field on a record.
- Use the Undo icon to revert any in-line edits made to a custom field on a record.
- Make in-line edits to customer fields in the Details Grid.
- Select the Save or Undo icon to confirm changes.
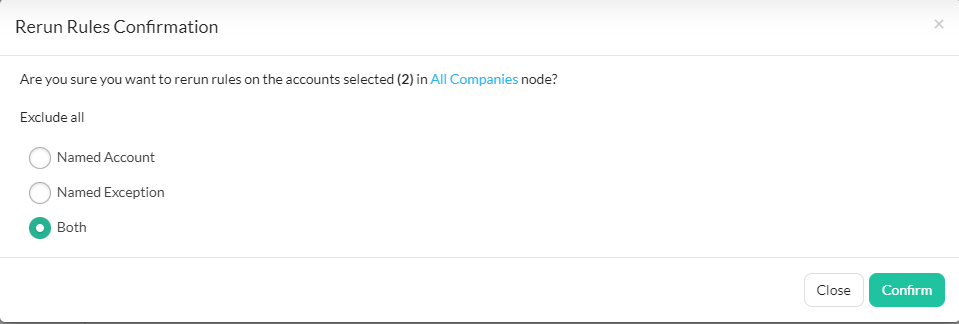
Steps to Rerun Rules Using the Actions Button
- Select the records you want to rerun rules for.
- Click the Actions button and select Rerun Rules.
- A confirmation window will appear asking if you want to rerun rules for the Named account and Named Exception. Select accordingly and confirm.
- The process may take time depending on the number of records affected.
Set/Clear Named types through the Actions button
- Select the appropriate records and click the Actions icon (wrench).
- Choose Set Name Type from the dropdown menu.
- In the Set Named Type dialog box, select the applicable named type from the dropdown menu.
- Click Confirm to set the named type for the selected accounts.
- To remove a named type, select the relevant records, click the Actions icon (wrench), and choose Clear Named Types.

- Select the records you want to change as Named Type.
Steps to commit changes using the Action button
- Select the applicable records and click the Actions icon (wrench), then choose Commit.
- A confirmation window will appear asking you to enter CONFIRM (case sensitive) and click Confirm.